The Ultimate Guide to Balloon Arch Installation: Professional Tips and DIY Methods
Creating a stunning balloon arch can transform any event space from ordinary to extraordinary. Whether you're planning a wedding, birthday celebration, corporate event, or any special occasion, a well-designed balloon arch serves as an impressive focal point that elevates the entire atmosphere. This comprehensive guide will walk you through everything you need to know about balloon arch installation, from professional techniques to DIY approaches.
Understanding Balloon Arch Basics
Before diving into installation methods, it's important to understand the fundamental components and types of balloon arches available.
Types of Balloon Arches
1. Traditional Curved Arch
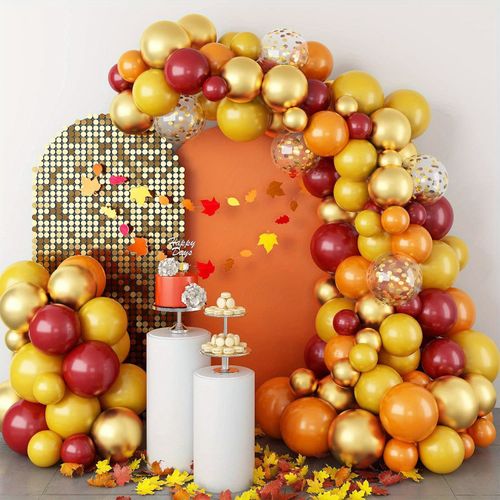
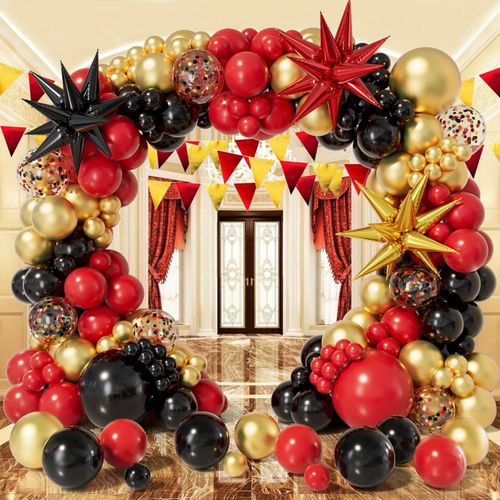
The classic curved arch forms a semi-circle and typically spans doorways, entrances, or stages. This timeless design works well for virtually any event and can be scaled to fit spaces of various sizes.
2. Organic/Asymmetrical Arch
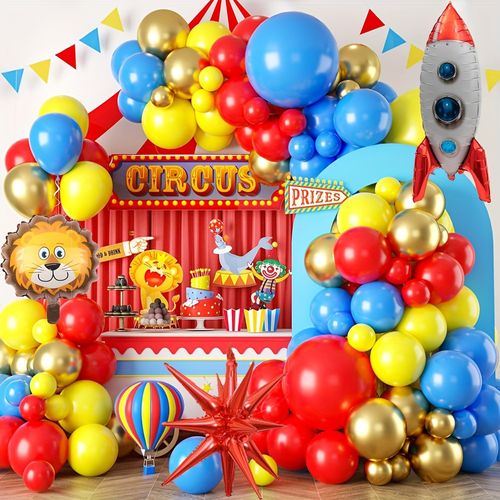
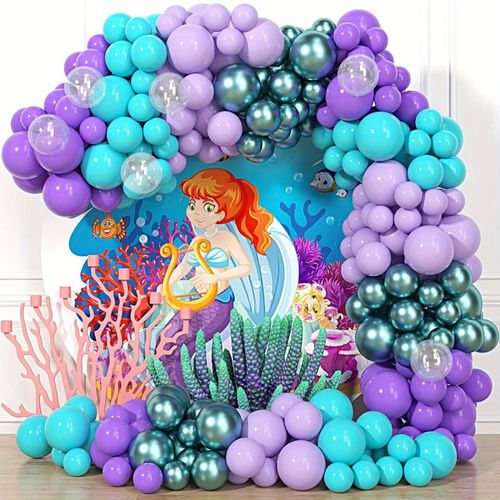
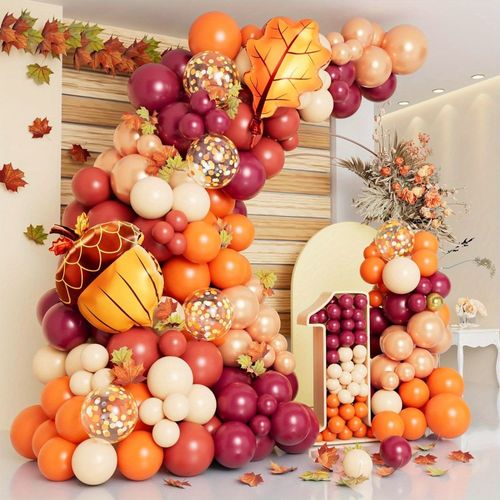
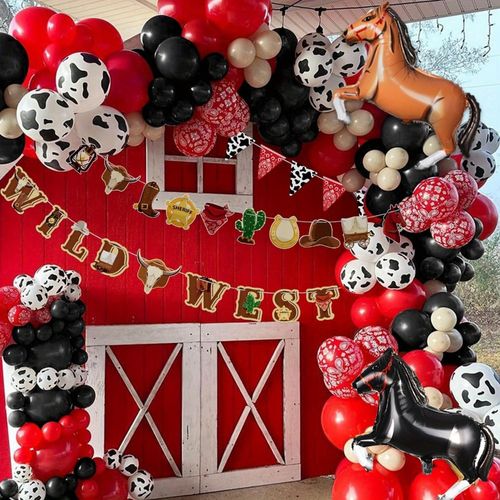
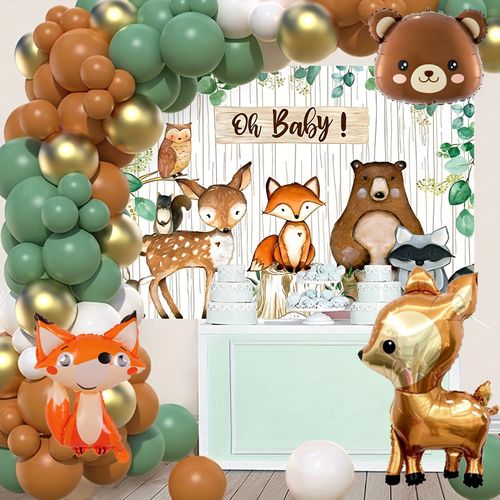
These free-flowing, non-uniform arches have gained tremendous popularity in recent years. Their irregular patterns and varying balloon sizes create a more artistic, contemporary look that's perfect for modern celebrations.
3. Spiral Arch
Spiral arches feature balloons wrapped in a twisting pattern around a central column or structure. This design creates visual interest through movement and is ideal for drawing attention to specific areas.
4. Balloon Garland
While technically not an arch, balloon garlands follow similar construction principles but typically drape along tables, walls, or staircases rather than forming a freestanding arch.
5. Square/Rectangular Arch
These geometric arches create a more structured, modern look with clean lines and defined angles, perfect for corporate events or contemporary celebrations.
Essential Materials for Balloon Arch Installation
Regardless of which type of arch you choose, you'll need these basic supplies:
- Balloons: Latex, foil, or a combination (quantity depends on arch size and density)
- Balloon pump: Manual or electric
- Arch structure: Depending on method (frame, fishing line, strip, etc.)
- Attachment tools: Balloon tape, balloon glue, balloon ties, or balloon decorating strip
- Decorative elements: Flowers, greenery, ribbons, or other embellishments
- Support materials: Weights, stands, or wall attachments
- Tools: Scissors, measuring tape, ladder or step stool
Professional Balloon Arch Installation Methods
Professional balloon decorators use several tried-and-true methods to create stunning, durable arches that maintain their shape and beauty throughout an event.
Method 1: Frame-Based Installation
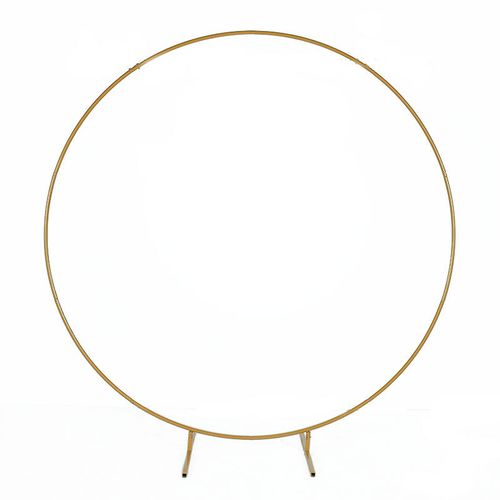
This method uses a solid frame (typically aluminum, PVC pipe, or specialized balloon arch frames) as the foundation.
Pros:
- Extremely stable and durable
- Can support heavier balloon designs
- Ideal for outdoor installations
- Can be pre-built and transported to venues
Steps:
- Assemble the frame according to manufacturer instructions or custom specifications
- Inflate balloons to desired size (typically not fully inflated to allow for better shaping)
- Create balloon clusters by tying 3-4 balloons together at the knot
- Attach clusters to the frame using balloon tape, zip ties, or specialized clips
- Work systematically around the frame, overlapping clusters to hide the structure
- Add finishing touches like flowers, ribbons, or specialty balloons
Professional Tip: For outdoor installations, professional decorators often use a technique called "double-stuffing" where a smaller air-filled balloon is placed inside a larger helium-filled balloon to provide additional weight and wind resistance.
Method 2: Balloon Decorating Strip Method
This specialized plastic strip with holes allows for quick, uniform balloon attachment.
Pros:
- Creates consistent spacing between balloons
- Faster than traditional string methods
- Flexible enough for various shapes
- No frame needed for smaller installations
Steps:
- Measure and cut the balloon decorating strip to desired length
- Inflate balloons to consistent size
- Insert balloon knots into the holes of the strip
- Bend the strip gradually to form the arch shape
- Secure ends to walls, floor stands, or other anchor points
- Fill in gaps with smaller balloons or decorative elements
Professional Tip: Professional decorators often create a size template for consistent balloon inflation, ensuring a uniform look throughout the arch.
Method 3: Link-O-Loon Technique
This method uses special linking balloons that connect to each other.
Pros:
- Creates a clean, uniform look
- No visible attachment materials
- Highly customizable patterns
Steps:
- Inflate Link-O-Loon balloons (special balloons with neck and nipple on opposite ends)
- Connect balloons by inserting the neck of one into the nipple of another
- Continue linking to form chains of desired length
- Shape chains into an arch formation
- Secure to support structures at key points
Professional Tip: Professionals often alternate colors or sizes in precise patterns to create visual interest and rhythm in the design.
DIY Balloon Arch Installation Methods
For those looking to create impressive balloon arches without professional equipment, these DIY methods deliver excellent results.
Method 1: Fishing Line Method
This accessible method uses fishing line as the arch structure.
Materials Needed:
- Strong fishing line (30+ lb test)
- Balloons in desired colors
- Hand pump or electric balloon pump
- Command hooks or other wall attachments
- Scissors
- Measuring tape
Steps:
- Determine arch placement and install secure anchor points (command hooks work well for temporary installations)
- Cut fishing line to desired length plus extra for tying off
- Secure one end of fishing line to an anchor point
- Inflate balloons to desired size
- Tie balloons in clusters of 2-4
- Twist balloon clusters around the fishing line, alternating directions for stability
- Continue adding clusters, working from one end to the other
- Secure the other end of fishing line to the second anchor point
- Adjust balloon positioning as needed for desired fullness
DIY Tip: To prevent slipping, tie small knots in the fishing line before attaching balloon clusters. These knots create stopping points that help maintain balloon positioning.
Method 2: Balloon Tape Method
Balloon tape (also called balloon garland tape) is an affordable alternative to professional decorating strips.
Materials Needed:
- Balloon tape
- Balloons in desired colors
- Balloon pump
- Command hooks or other wall attachments
- Scissors
Steps:
- Measure and cut balloon tape to desired length
- Secure one end to an anchor point
- Inflate balloons to desired size
- Push balloon knots through holes in the balloon tape
- Continue adding balloons, varying sizes for visual interest
- Once complete, shape into an arch and secure the other end
- Fill in gaps with smaller balloons or greenery
DIY Tip: For a fuller look, attach balloons to both sides of the tape, creating a 360-degree effect.
Method 3: Chicken Wire Method
For more structured DIY arches, chicken wire provides an excellent foundation.
Materials Needed:
- Chicken wire
- Wire cutters
- Gloves (for safety)
- Balloons
- Balloon pump
- Zip ties or balloon tape
Steps:
- Cut chicken wire to desired arch shape
- Shape the chicken wire into an arch form
- Secure to wall or freestanding supports
- Inflate balloons to desired size
- Attach balloons to chicken wire using zip ties or by weaving balloon knots through the wire
- Continue until the wire is completely covered
DIY Tip: Pre-shape your chicken wire on a flat surface before installation for more precise arch dimensions.
Advanced Balloon Arch Installation Techniques
Once you've mastered basic installation methods, these advanced techniques can take your balloon arches to the next level.
Technique 1: Size Graduation
Creating a visual flow by gradually changing balloon sizes throughout the arch adds sophistication and visual interest.
How to Achieve:
- Plan your size pattern before inflation (e.g., small to large to small)
- Use a balloon sizer tool for consistency
- Arrange balloons according to your planned pattern
- Blend transitions between size changes for a smooth effect
Technique 2: Color Blocking
Strategic placement of color groups creates striking visual impact.
How to Achieve:
- Design your color pattern on paper first
- Inflate balloons by color group
- Install following your color pattern
- Consider ombré effects (gradual color transitions) for sophisticated designs
Technique 3: Incorporating Non-Balloon Elements
Adding flowers, greenery, fabric, or other decorative elements elevates balloon arches to designer status.
Popular Additions:
- Fresh or silk flowers
- Eucalyptus or other greenery
- LED string lights
- Fabric draping
- Paper flowers or fans
- Themed decorative elements
Integration Method:
- Create your balloon base first
- Identify strategic placement points for non-balloon elements
- Secure additions using floral wire, glue dots, or by tucking stems between balloons
- Distribute elements evenly for balanced design
Balloon Arch Installation for Different Venues
Different event spaces require specific installation approaches for optimal results.
Indoor Venues
Indoor installations benefit from controlled environments but may have attachment limitations.
Best Practices:
- Confirm ceiling height and attachment policies with venue
- Use non-marking attachment methods like command hooks
- Consider freestanding bases for venues that prohibit wall attachments
- Account for air conditioning/heating vents that may cause movement
Outdoor Venues
Outdoor installations face weather challenges but offer more creative placement options.
Best Practices:
- Use heavier frames and secure anchoring
- Consider double-stuffed balloons for wind resistance
- Apply UV protectant spray for sun exposure
- Have a backup plan for extreme weather
- Use weights rated for outdoor conditions
Unusual Spaces
Creative installations in stairways, around columns, or in asymmetrical spaces require customized approaches.
Best Practices:
- Create a template or sketch before installation
- Use flexible installation methods (fishing line or balloon tape)
- Build in sections for complex shapes
- Allow extra time for problem-solving during installation
Troubleshooting Common Balloon Arch Installation Problems
Even with careful planning, challenges can arise during installation. Here's how to address common issues:
Problem: Balloons Deflating Prematurely
Solutions:
- Use high-quality balloons designed for decorations
- Apply Hi-Float treatment inside latex balloons
- Inflate balloons 24 hours before event to allow for natural shrinkage and replacement
- Keep arch away from heat sources and direct sunlight
Problem: Arch Structure Sagging
Solutions:
- Reinforce structure with additional support points
- Use lighter balloons in center sections
- Add invisible fishing line supports to ceiling or walls
- Consider a stronger frame material
Problem: Uneven Balloon Distribution
Solutions:
- Use a balloon spacing template during installation
- Step back frequently to assess overall appearance
- Fill gaps with smaller balloons or greenery
- Create intentional asymmetry rather than trying to force perfect symmetry
Problem: Attachment Difficulties
Solutions:
- Test attachment methods on similar surfaces before event day
- Bring multiple attachment options (command hooks, suction cups, weights)
- Use temporary construction solutions like tension rods for doorways
- Consider freestanding options when wall attachment isn't possible
Maintaining Your Balloon Arch During Events
Once installed, these maintenance tips will help your balloon arch look fresh throughout the event:
- Keep away from heat sources including direct sunlight, heating vents, and candles
- Have a "touch-up kit" ready with extra inflated balloons, attachment materials, and tools
- Apply anti-static spray to prevent balloons from sticking to walls or each other
- Position away from high-traffic areas where guests might accidentally damage the arch
- Consider hiring event staff to monitor and maintain elaborate installations
Eco-Friendly Balloon Arch Installation
As environmental concerns grow, consider these sustainable approaches to balloon arch installation:
- Use biodegradable latex balloons that break down more quickly than standard options
- Avoid mylar/foil balloons which aren't biodegradable
- Consider reusable alternatives like fabric installations or permanent decorative arches for frequent events
- Plan for proper disposal after the event
- Explore balloon-free alternatives like paper flowers, fabric installations, or projected designs
Cost Considerations for Balloon Arch Installation
Understanding the cost factors helps with budgeting for balloon arch installations:
DIY Cost Factors:
- Balloons: $10-$50 depending on quality and quantity
- Structure materials: $5-$30
- Tools and accessories: $15-$50
- Additional decorative elements: $0-$100+
- Total DIY cost range: $30-$200+
Professional Installation Cost Factors:
- Size of arch: Small arches start around $150, while large or complex installations can exceed $1,000
- Design complexity: Organic designs with multiple colors and elements cost more
- Additional decorative elements: Fresh flowers or specialty balloons increase costs
- Location and setup challenges: Difficult installation locations may incur additional fees
- Designer reputation and experience: Well-known balloon artists command premium prices
Conclusion: Creating Memorable Events with Balloon Arch Installations
Balloon arches have evolved from simple party decorations to sophisticated design elements that can transform any space. Whether you choose professional installation or a DIY approach, understanding the techniques, materials, and best practices ensures your balloon arch will be a stunning focal point for your event.
With proper planning, quality materials, and attention to detail, your balloon arch installation can create that perfect photo opportunity, welcome guests with style, or add the finishing touch to your event's design theme. From simple single-color arches to elaborate organic installations with mixed media elements, the possibilities are limited only by your imagination.
By following the guidelines in this comprehensive guide, you'll be well-equipped to create or commission balloon arch installations that impress guests and elevate any celebration to a truly memorable experience.
