Balloon garlands have become one of the most popular decoration trends for parties and events of all kinds. These versatile, eye-catching installations add color, texture, and a touch of whimsy to any celebration. The best part? You can create professional-looking balloon garlands yourself with some basic supplies and a bit of patience. This comprehensive guide will walk you through everything you need to know to create stunning DIY balloon garlands for your next special occasion.
What is a Balloon Garland?
A balloon garland is a decorative arrangement of balloons in various sizes and often colors, attached to a base structure to create a flowing, organic-looking display. Unlike traditional balloon arches that require rigid frames, balloon garlands have a more natural, asymmetrical appearance that can be customized to fit any space or theme.
These versatile decorations can be used to:
- Frame doorways or entrances
- Decorate tables or dessert stations
- Create photo backdrops
- Enhance staircases or mantels
- Outline windows or architectural features
- Serve as standalone statement pieces
The beauty of balloon garlands lies in their adaptability—they can be as simple or elaborate as you desire, making them perfect for everything from intimate birthday celebrations to grand wedding receptions.
Essential Supplies for DIY Balloon Garlands
Before beginning your balloon garland project, gather these essential supplies:
Balloons
The foundation of any garland, balloons come in various sizes, colors, and finishes:
Sizes:
- 5" mini balloons (for filling gaps)
- 9"-11" standard balloons (the main component)
- 16"-24" large balloons (for statement pieces)
- 36" jumbo balloons (for dramatic focal points)
Types:
- Latex balloons (standard, most economical option)
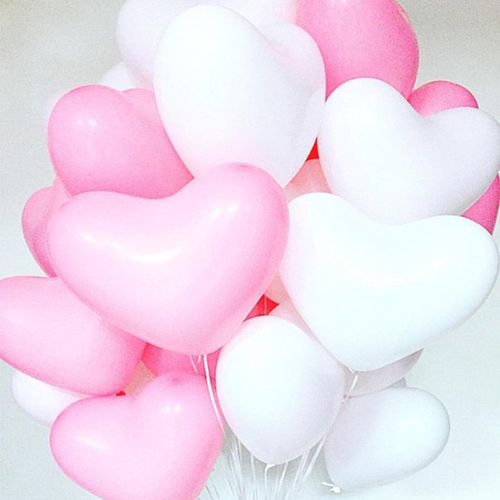
- Pearl finish balloons (elegant sheen)
- Metallic balloons (reflective surface)
- Confetti-filled balloons (clear balloons with confetti inside)
- Chrome/mirror balloons (ultra-reflective finish)
Quantity: For a standard 6-foot garland, you'll need approximately:
- 40-60 standard (11") balloons
- 10-15 smaller (5") balloons
- 5-10 larger (16"+) balloons
Balloon Garland Structure
You'll need one of these base options to create your garland structure:
Balloon Decorating Strip:
- Plastic strip with holes for inserting balloon knots
- Most user-friendly option for beginners
- Creates consistent spacing
- Available in various lengths
Fishing Line or Thin Rope:
- More flexible for custom shapes
- Requires tying each balloon individually
- Better for complex installations
- Nearly invisible in the finished garland
Balloon Garland Wire:
- Metal wire designed specifically for garlands
- Combines flexibility with structure
- Ideal for hanging installations
- Can be bent into specific shapes
Properly inflating dozens of balloons requires the right equipment:
Electric Balloon Pump:
- Highly recommended for efficiency
- Saves time and lung power
- Consistent inflation size
- Usually costs $15-30 but worth the investment
Hand Pump:
- Budget-friendly alternative
- Portable for on-site assembly
- Requires more physical effort
- Takes longer for large quantities
Balloon Sizer:
- Template for consistent balloon sizes
- Creates professional-looking results
- Can be purchased or DIY with cardboard
Assembly and Installation Supplies
These additional items help with construction and installation:
Low-Temperature Glue Gun & Glue Sticks:
- For attaching balloons to each other
- Creates stronger connections than tape
- Must be low-temperature to avoid popping balloons
- Alternative: balloon glue dots
Command Hooks or Removable Adhesive:
- For hanging garlands without damaging walls
- Choose weight rating appropriate for your garland size
- Test on an inconspicuous area first
Fishing Line or Clear String:
- For hanging the completed garland
- Nearly invisible support
- Strong enough to hold substantial weight
Scissors:
- For cutting decorating strip or string
- Trimming ribbon or other decorative elements
Balloon Tying Tool (Optional):
- Assists with tying balloon knots
- Helpful for those with hand strength issues
- Increases efficiency for large projects
Step-by-Step Guide to Creating a Basic Balloon Garland
Step 1: Plan Your Design
Before inflating a single balloon, plan your garland design:
Color Scheme:
- Choose 3-5 complementary colors for visual interest
- Consider the event theme and venue decor
- Use color theory principles (complementary, analogous, etc.)
- Include neutral colors (white, clear, gold) to balance bold choices
Size and Shape:
- Measure the installation space
- Determine desired length and fullness
- Sketch a rough design including balloon placement
- Plan for any curves or special shapes
Balloon Distribution:
- Decide on pattern (random, ombré, clustered)
- Plan placement of specialty balloons
- Consider balance of sizes throughout the garland
Step 2: Inflate the Balloons
Proper inflation is key to a professional-looking garland:
- Set up your workspace with enough room to organize inflated balloons by color and size
- Prepare your pump and ensure it's working properly
- Inflate balloons to varied sizes (80-90% full for standard balloons)
- Under-inflate slightly to create a softer look
- Vary sizes intentionally for organic appearance
- Use balloon sizer if desired for consistency
- Tie each balloon securely
- Sort inflated balloons by color and size for easier assembly
Pro Tip: Don't inflate all balloons at once if working alone, as air-filled latex balloons may begin to soften after several hours. Instead, work in sections.
Step 3: Create the Garland Base
Using a balloon decorating strip (easiest method for beginners):
- Measure and cut the decorating strip to desired garland length
- Stretch the strip slightly to reveal the holes
- Insert the tied end (knot) of each balloon through a hole in the strip
- Alternate balloon colors and sizes according to your design plan
- Fill every hole in the strip for a full base layer
- Add a few balloons to both sides of the strip for a three-dimensional effect
If using fishing line method:
- Cut fishing line to desired length plus extra for tying
- Secure one end to a stable object
- Create balloon pairs by tying two balloons together at the knot
- Twist balloon pairs around the fishing line, alternating directions
- Continue adding pairs until you reach desired length
- Secure the end of the fishing line
Step 4: Add Dimension with Balloon Clusters
Transform your garland from flat to fabulous:
- Create small clusters of 3-4 balloons in complementary colors and sizes
- Attach clusters to the base layer using low-temp glue gun or balloon glue dots
- Position clusters to cover the decorating strip or fishing line
- Vary the placement to create an organic, flowing appearance
- Add larger balloons as focal points throughout the garland
- Fill gaps with mini balloons for a full, professional look
Technique Tip: When gluing balloons, apply glue to the knotted area or side of the balloon, never the thinnest part, to prevent popping.
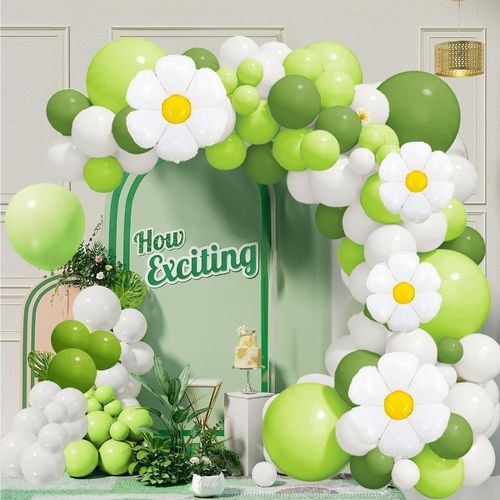
Step 5: Incorporate Special Elements (Optional)
Elevate your garland with decorative additions:
Greenery:
- Eucalyptus, ferns, or artificial foliage
- Tuck stems between balloons
- Secure with floral wire if needed
- Creates a lush, organic look
Flowers:
- Fresh or artificial blooms
- Position strategically as focal points
- Consider durability if using fresh flowers
- Match or complement balloon colors
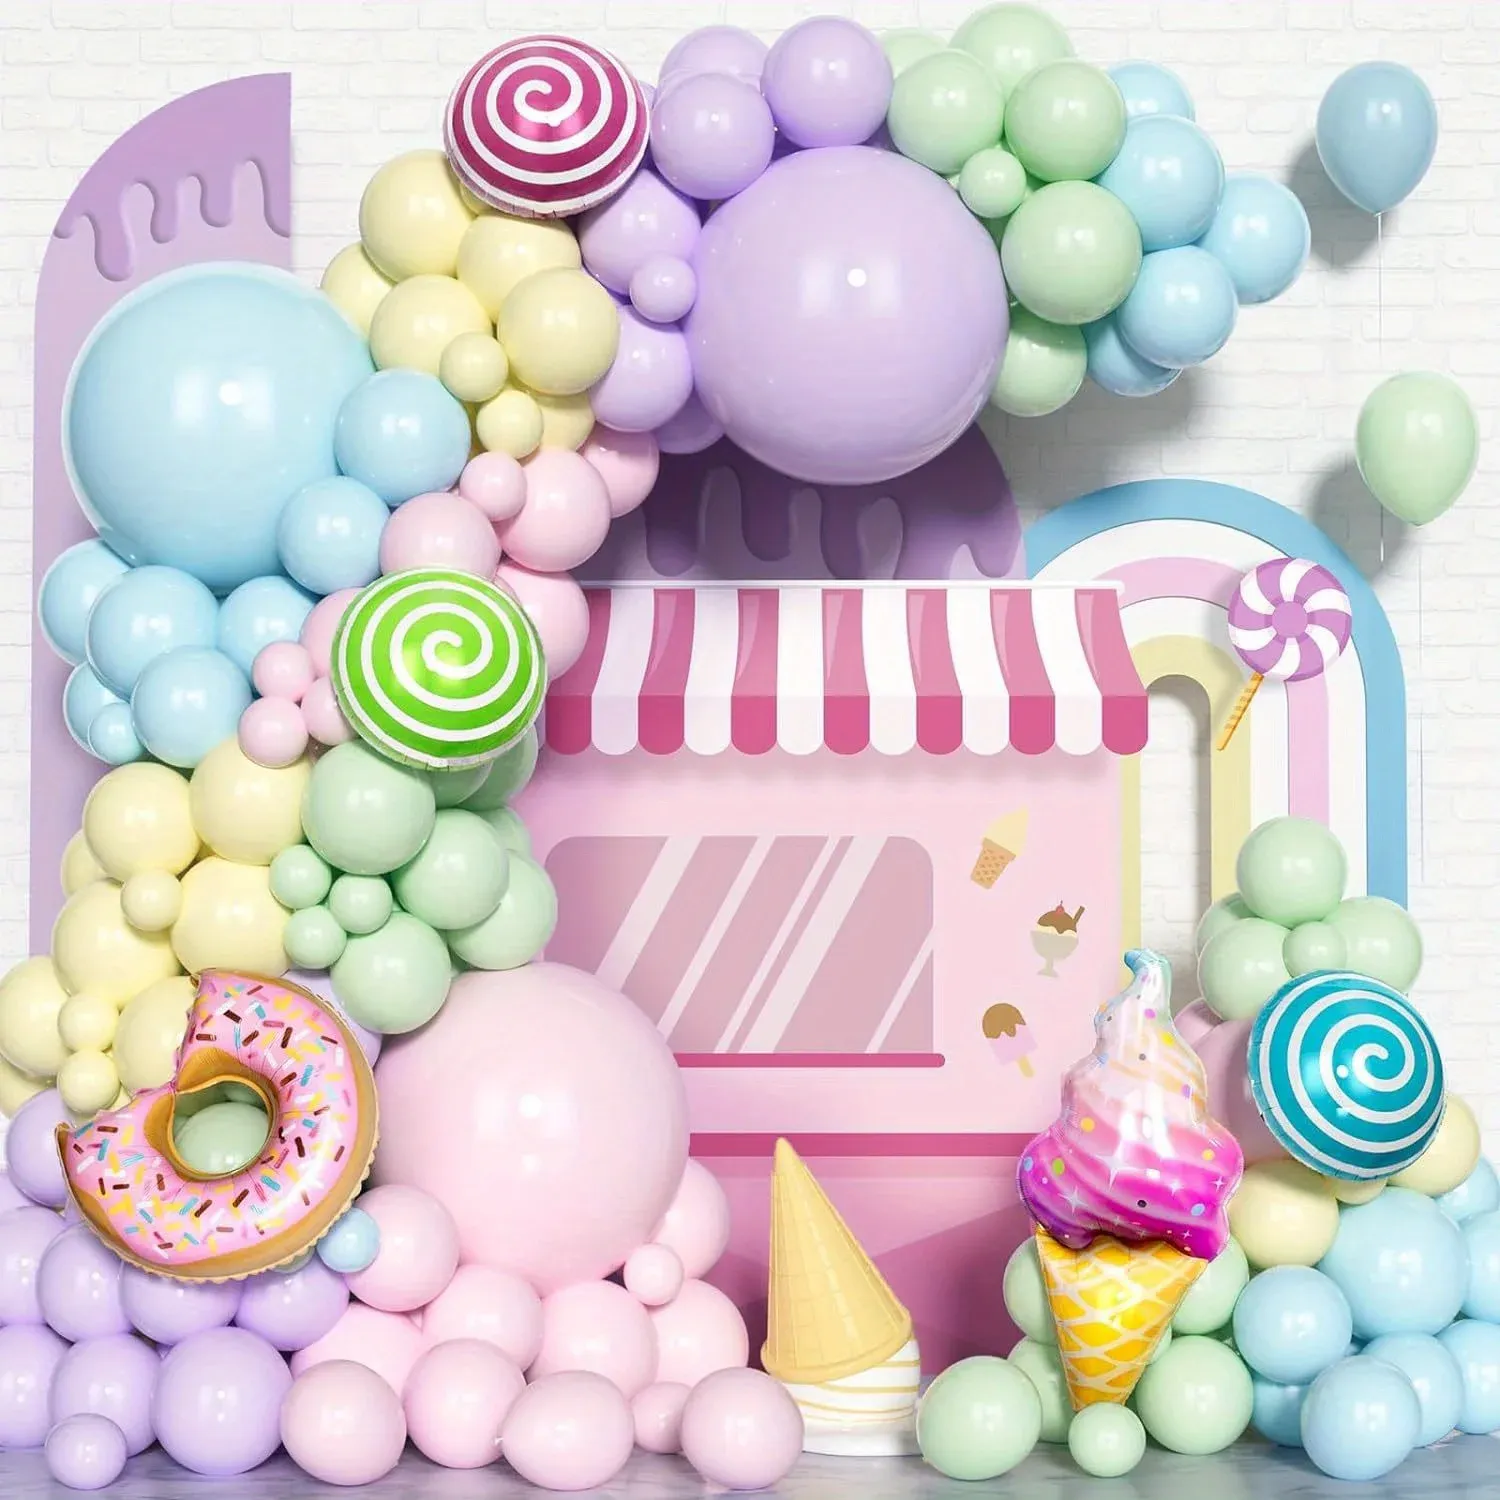
Balloon Accessories:
- Tassels or ribbon streamers
- Letter or number balloons
- Confetti-filled feature balloons
- Custom printed or personalized balloons
Lighting:
- Battery-operated fairy lights
- LED balloon lights (placed inside clear balloons)
- Creates magical evening ambiance
- Ensures visibility in dimly lit venues
Step 6: Install Your Balloon Garland
Proper installation ensures your creation stays put:
Wall Installation:
- Install command hooks at endpoints and support points
- Test weight capacity before hanging full garland
- Secure garland to hooks using clear fishing line
- Add support points every 2-3 feet for longer garlands
- Adjust balloon positioning after hanging
Table Installation:
- Position garland along table edge or as a runner
- Use clear tape underneath to secure to table
- Balance weight distribution to prevent tipping
- Consider anchoring with decorative weights at endpoints
Freestanding Installation:
- Create or purchase balloon garland stands
- Secure garland to stand structure
- Ensure stable base to prevent tipping
- Position away from high-traffic areas
Step 7: Final Styling and Touch-Ups
Perfect your creation with these finishing touches:
- Rotate balloons to hide glue spots or imperfections
- Fill any noticeable gaps with extra mini balloons
- Adjust specialty elements for maximum visibility
- Add final decorative touches like ribbon or confetti
- Take photos from multiple angles to check overall appearance
- Make lighting adjustments if necessary
Advanced Balloon Garland Techniques
Once you've mastered the basics, try these advanced techniques:
Double-Stuffed Balloons
Create balloons with unique visual effects:
- Inflate a smaller balloon (usually a different color)
- Insert it into an uninflated larger balloon
- Inflate the outer balloon around the inner one
- Use as feature elements in your garland
Ombré Color Transitions
Create smooth color gradients:
- Arrange balloons in color progression (light to dark or between different hues)
- Use 5+ shades for smooth transitions
- Blend colors gradually rather than abrupt changes
- Consider balloon placement to ensure gradient is visible
Create specific shapes beyond basic garlands:
- Use balloon garland wire as a moldable base
- Pre-shape the wire into desired form (heart, circle, number, etc.)
- Attach balloons following the wire shape
- Build outward from the wire frame for fullness
- Reinforce structure at stress points
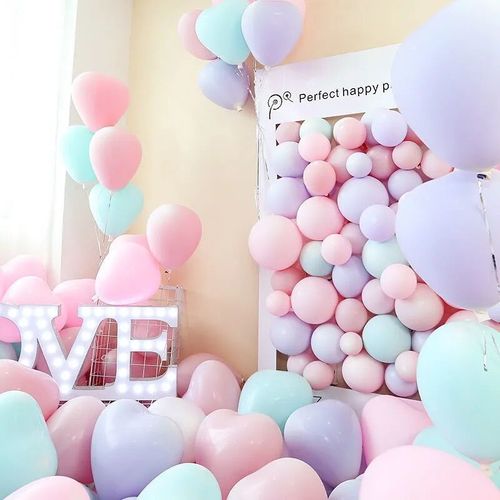
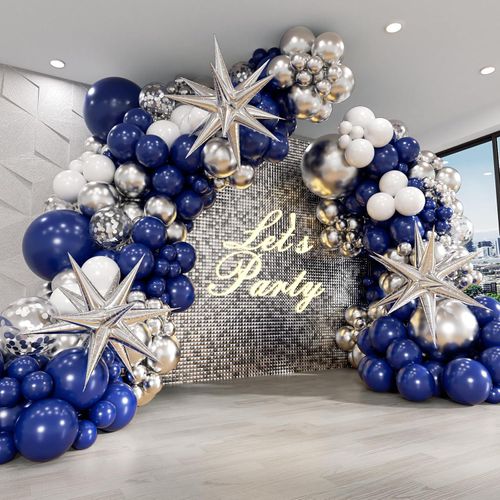
Balloon Garland Backdrop
Create a full wall of balloons:
- Install a grid of fishing line on your backdrop surface
- Create multiple garland sections
- Attach sections to the grid at various points
- Fill entire wall area for dramatic effect
- Consider incorporating a focal point (monogram, sign, etc.)
Balloon Garland Ideas for Different Occasions
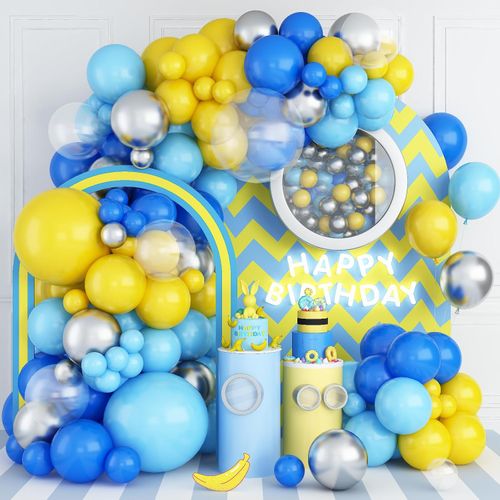
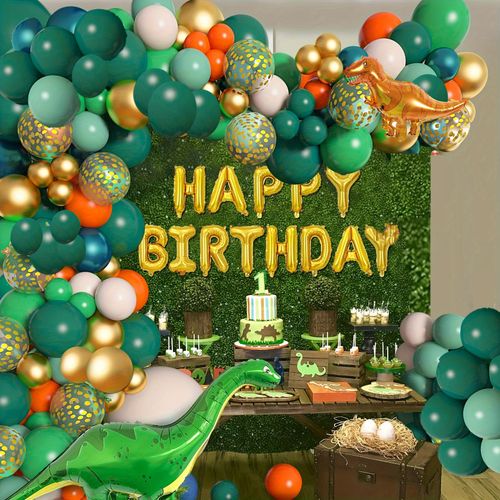
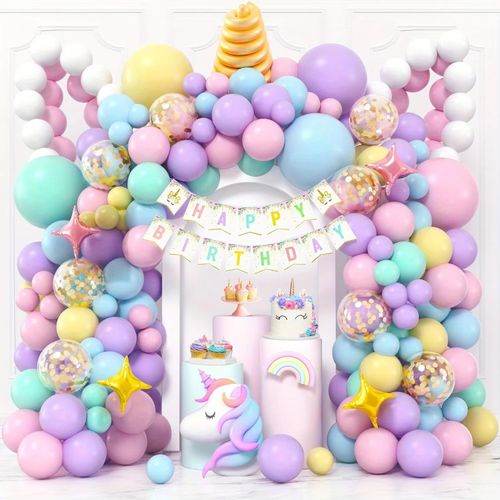
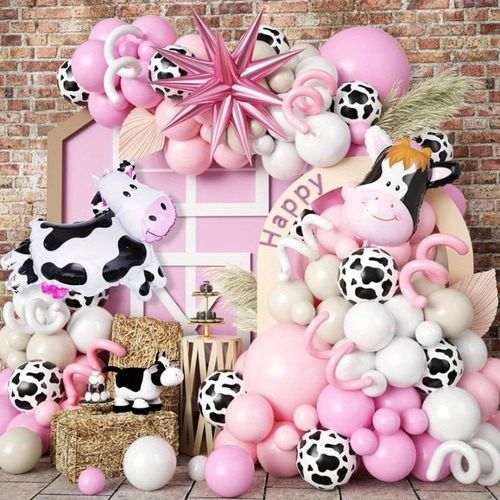
Birthday Celebrations
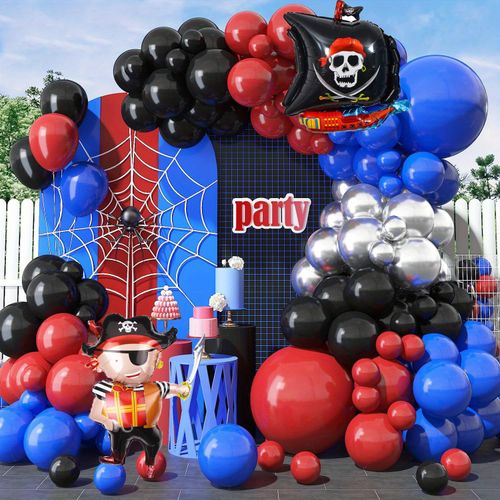
Children's Birthdays:
- Bright primary colors
- Character-themed color schemes
- Incorporate age numbers
- Add playful elements like tassels or banners
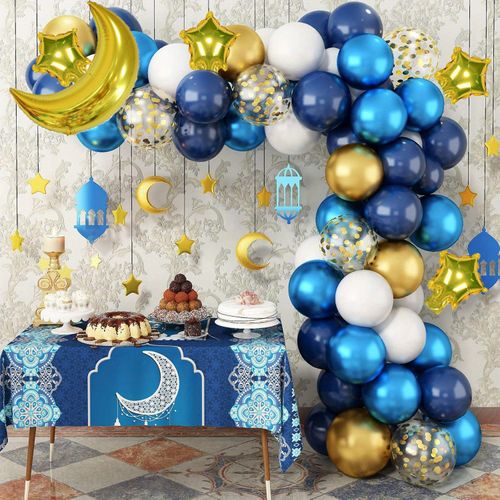
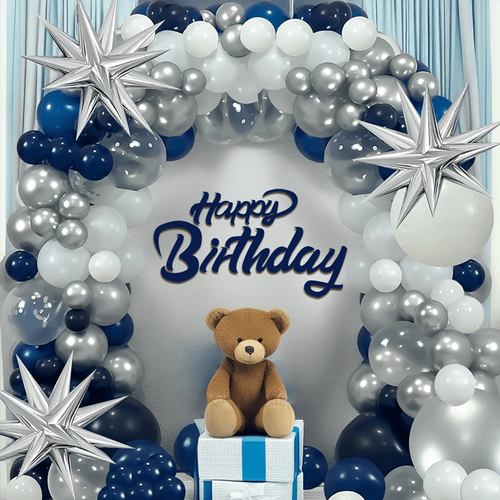
Adult Birthdays:
- Sophisticated color palettes
- Metallic accents
- Incorporate meaningful colors
- Elegant additions like dried flowers or greenery
Baby Showers
Traditional:
- Soft pastels (blue, pink, mint, lavender)
- Pearl finish balloons for elegance
- Incorporate baby-themed elements
- Gentle color transitions
Gender Reveal:
- Blue and pink combinations
- Neutral base with color accents
- Consider confetti-filled reveal balloons
- Incorporate question marks or other playful elements
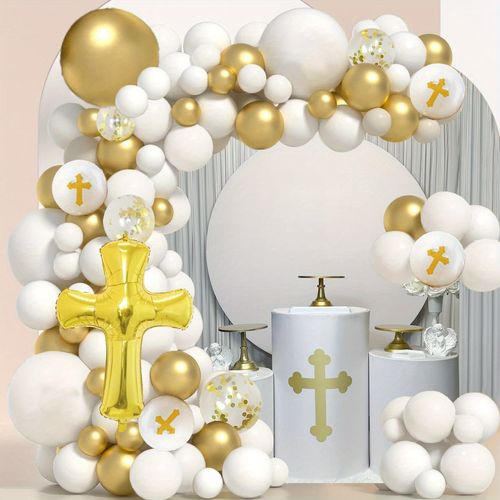
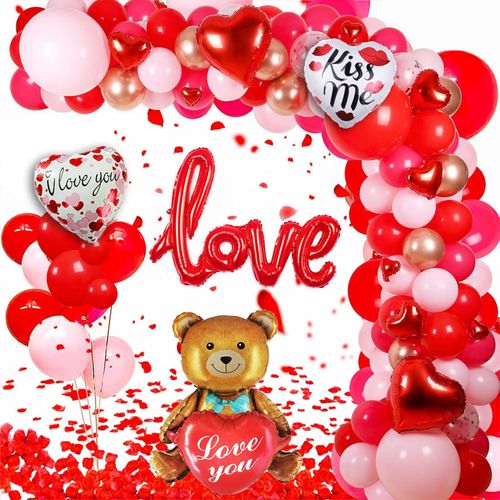
Wedding Celebrations
Ceremony:
- Elegant, limited color palette
- Coordinated with floral elements
- Structured, symmetrical designs
- Incorporate wedding colors
Reception:
- Statement installations for photo opportunities
- Table garlands coordinating with centerpieces
- Dance floor or cake table enhancements
- Romantic elements like roses or fairy lights
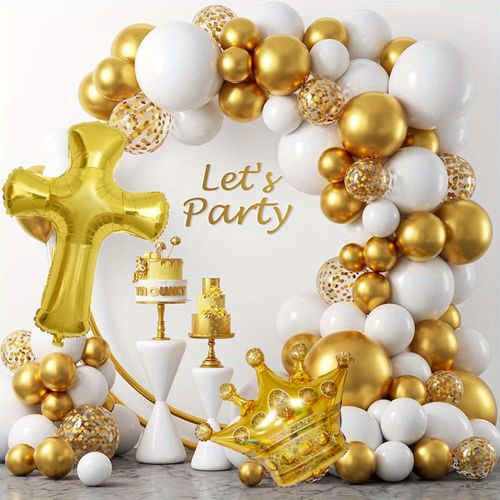
Corporate Events
Brand-Focused:
- Company color scheme
- Incorporate logo colors precisely
- Professional, structured appearance
- Strategic placement for photo opportunities
Celebratory:
- Achievement-themed colors (gold, silver)
- Incorporate milestone numbers
- More formal color schemes
- Balanced, symmetrical designs
Troubleshooting Common Balloon Garland Problems
Balloons Deflating Too Quickly
Possible Causes:
- Low-quality balloons
- Overinflation
- Sharp objects nearby
- Extreme temperatures
Solutions:
- Invest in higher-quality balloons
- Slightly underinflate for longevity
- Create garland in a clean, controlled environment
- Keep away from heat sources and direct sunlight
Garland Sagging or Falling
Possible Causes:
- Insufficient support points
- Weak attachment methods
- Too heavy for supports
- Uneven weight distribution
Solutions:
- Add support points every 2-3 feet
- Use stronger attachment methods
- Reinforce command hooks with additional adhesive
- Balance weight throughout the garland
Uneven or Sparse Appearance
Possible Causes:
- Inconsistent balloon sizes
- Poor cluster placement
- Insufficient quantity of balloons
- Visible structure (strip or line)
Solutions:
- Use a balloon sizer for consistency
- Add more small balloons to fill gaps
- Create more clusters for fullness
- Ensure base structure is completely covered
Difficulty with Balloon Attachment
Possible Causes:
- Improper glue temperature
- Insufficient adhesive
- Dusty balloon surface
- Rushing the process
Solutions:
- Use low-temperature glue gun specifically
- Hold balloons together for a few seconds after gluing
- Wipe balloons with a damp cloth before gluing
- Work methodically and allow proper drying time
Balloon Garland Care and Longevity
Maximum Lifespan
Air-filled latex balloon garlands typically last:
- Indoor environments: 2-3 days with minimal deflation
- Outdoor covered areas: 12-24 hours depending on conditions
- Direct sunlight: 3-6 hours before noticeable deterioration
Factors affecting longevity:
- Balloon quality
- Environmental conditions
- Inflation level
- Installation method
Extending Garland Life
Pre-Event Tips:
- Create garland as close to event time as practical
- Store completed sections in cool, dry environments
- Keep away from sunlight before installation
- Slightly underinflate balloons to allow for expansion
During-Event Maintenance:
- Keep away from heat sources
- Avoid direct sunlight when possible
- Have replacement balloons ready for quick fixes
- Consider fans or air conditioning settings
Proper Disposal
When the celebration ends:
- Pop balloons before disposal to prevent wildlife hazards
- Consider biodegradable latex options when available
- Recycle any non-balloon components
- Never release balloons outdoors
Cost Analysis: DIY vs. Professional Balloon Garlands
DIY Balloon Garland Costs
For a standard 6-8 foot garland:
One-Time Investments:
- Electric balloon pump: $15-30
- Low-temp glue gun: $10-15
- Balloon sizer: $5-10
Per-Garland Costs:
- Balloons (100-150 count): $15-40 depending on quality
- Balloon decorating strip: $5-10
- Glue sticks: $3-5
- Decorative elements: $5-20
- Command hooks/hanging supplies: $5-10
Total DIY Cost: $33-85 per garland (plus one-time tool investments)
Professional Balloon Garland Costs
Professional balloon garlands typically range from:
- Basic designs: $100-200
- Standard installations: $200-350
- Elaborate custom designs: $350-800+
Factors affecting professional pricing:
- Designer experience and reputation
- Geographic location
- Design complexity
- Installation challenges
- Additional decorative elements
Value Considerations
When deciding between DIY and professional installation, consider:
- Your comfort with crafting projects
- Available preparation time
- Importance of the event
- Desired complexity
- Transportation logistics
- Setup time constraints
Conclusion: Creating Memorable Celebrations with DIY Balloon Garlands
Balloon garlands offer a versatile, customizable decoration option that can transform any space into a celebration. With the right supplies, techniques, and a bit of patience, you can create professional-looking installations that will impress your guests and create perfect photo opportunities.
The beauty of DIY balloon garlands lies in their accessibility—they can be as simple or elaborate as you desire, making them suitable for crafters of all skill levels. By following the steps and tips outlined in this guide, you'll be well-equipped to create stunning balloon decorations for birthdays, baby showers, weddings, and any other special occasion worth celebrating.
Remember that practice makes perfect, so consider starting with a smaller project before tackling an elaborate installation for an important event. With each garland you create, you'll develop techniques and confidence that will elevate your balloon decor to new heights. Happy crafting!